To download the PDF version,
click here
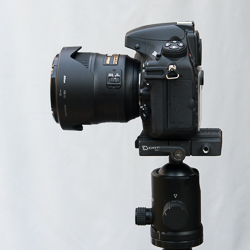
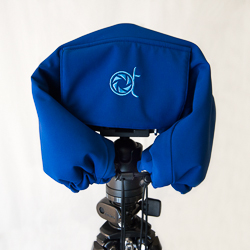
Set your camera on a tripod, and leave the lens cap on.
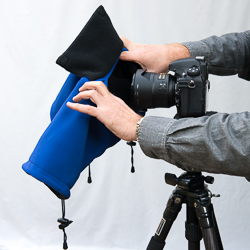
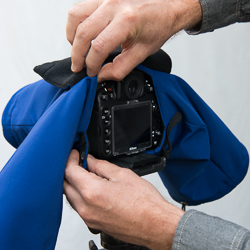
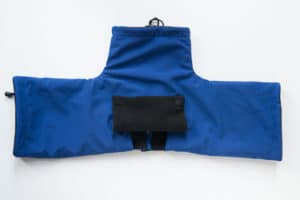
The Camera Parka is fitted from the back opening (the flap) and over the lens first. Open the Velcro strap and the flap at the back of the cover. The camera strap (if there is one), can be folded on the lens and nested in the front sleeve, or pulled trough one of the side sleeves. Slide the lens through the opening, and bring the cover over the sides of your camera, one side at a time.
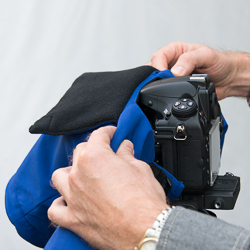
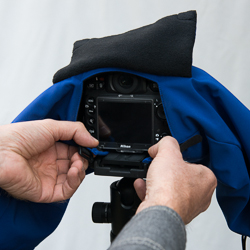
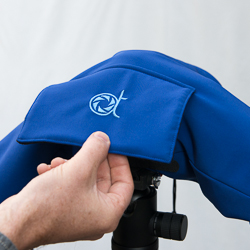
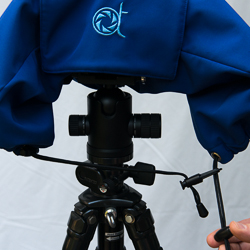
Fit the cover around the tripod head or plate.
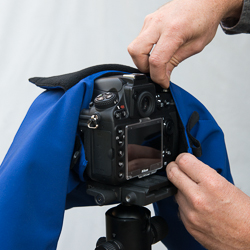
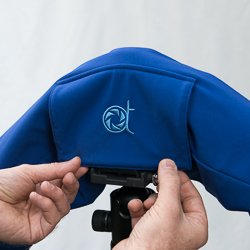
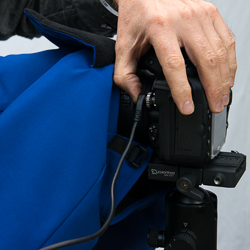
Secure the cover with the Velcro strap and adjust around your LCD screen.
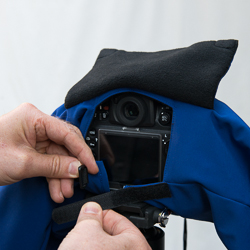
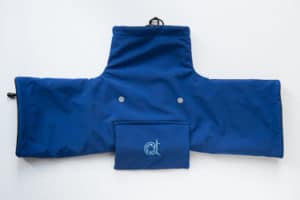
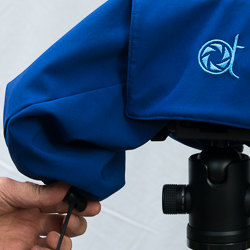
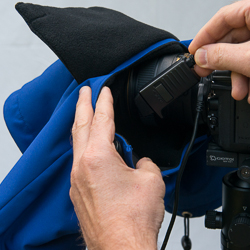
Magnets in the flap are to secure the flap. The contact points for these magnets are indicated by the silver dots on the image below. When flipped up, the flap will stay open thanks to the earth magnets.
The magnets are also used to keep the flap closed when access to the LCD screen is not needed.
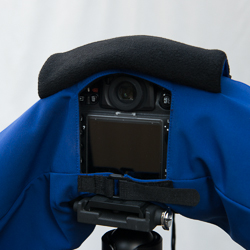
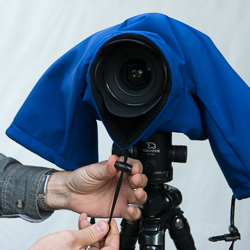
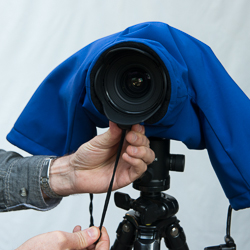
Tighten the cover around the lens (note: if Manual focus is used, focus your camera first).
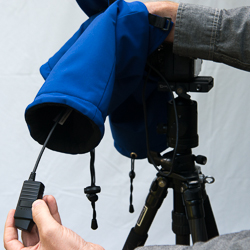
In sub-zero temperatures, and when access to camera settings are not needed, close the side sleeves with the pull strings. The 2 side sleeves can be tighten together using the snap hook cord lock when it is windy for instance. Some good examples are when shooting a timelapse or when waiting.
Install the remote release cable through a side sleeve or before fitting the Camera Parka on.
You are ready to go! For more info, visit https://atfrostedlens.com